
How to Prepare Your Home for Photography
Few things are more nerve-wracking for our sellers than having to prepare their home for professional photography! After all, 90%+ of people start their home search online and will make snap decisions based on nothing but the pictures. So when you’re selling your home, a picture isn’t just worth 1000 words, it can be worth thousands and thousands of dollars as well.
We picked one of our top pick photographer’s brains for some suggestions on preparing a home for photography. Here are some top tips from Lisa Zampogna of Poppy Seed Photography:
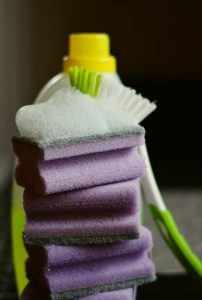
Clean, clean, then clean some more.
The camera will pick up everything, the good and the bad. Giving your home a thorough deep clean before the photographer arrives will not only ensure you don’t have dust bunnies in your pictures, it will also give you a head start on getting ready for showings. Vacuum the floors and dust your walls, floorboards and vents. Wipe down counters and scrub your sinks until they shine.

Hide your clutter.
Look through home design and architectural magazines — that’s the look you’re going for. Clear counter tops, empty nightstands, and minimal decor will go a long way in making your home look its best. Potential buyers want to feel like a house has plenty of space for their own personal touches. If your kitchen countertops are overflowing with small appliances, it will make the room feel smaller so hide your stuff. You can keep a basket under the sink and do a quick sweep of the counters before photos or a showing. The slight inconvenience will pay off in the long run.
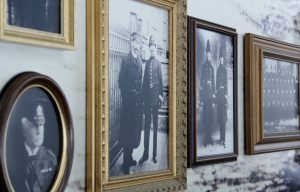
Depersonalize your pad.
Remove the majority of your family photographs and personal mementos. Buyers want to be able to envision themselves and their family in a house. If they walk through halls filled with generations of your family members, it will be more difficult to think of the house as theirs.

Plan for picture perfect pictures.
Put away anything that might detract from your home’s natural beauty. That means stow high chairs, baby gates and toys in a closet or in the garage. Hide your toiletries in a drawer. No one wants to see your toothbrush or the rumpled towel from your morning shower in a picture. Take a critical look at the outside of your home as it might be seen by a potential buyer. Tuck away hoses, ladders, outdoor toys and tools. They’ll be eyesores in a picture.

Show your home in its best light.
Before your photographer arrives, turn on all of the lights. Make sure light bulbs in the same room have the same tone (daylight vs. warm vs. cool bulbs.) Turn off ceiling fans since they can mess with the lighting and open or raise all blinds and window treatments to allow for the most natural light. Drop your remote controls in a drawer and turn off all electronics and televisions.
Provide a helping hand.
If you can, plan to stick around while the photographer is working. He or she may need some help if they need to move something or tuck an item out of sight. Most of the photographers we work with will do what it takes to make the most of the photos, but they’d prefer a homeowner move their own items so they know where to find them after the shoot is over.
Most of the work is in the prep since photography appointments usually only take about an hour, or sometimes even less. The better prepared you and your home are, the less time the photographer will have to spend on site and in edits.
If you have questions about real estate photography, just reach out via email or on social media and we’ll do our best to get back to you ASAP! And if you’d like a printable checklist of these tips and more, please visit Lisa at Poppy Seed Photography!