Recipes Tag

  • Sort Blog:
  • All
  • About The Property Geeks
  • Around Town
  • Buying
  • Design
  • Downtown Lakeville
  • Home and Garden
  • Home Staging
  • Hug Your Home Challenge
  • Market
  • Open House
  • Photography
  • Real Estate Investment
  • Recipes
  • Selling
  • Uncategorized
Meatballs

Keya Cooks – Cheesy Garlic Bread Meatball Sliders!

Property Geek Nekeya Broadnax took her turn in the kitchen and searched high and low for a recipe to share! When she came across this post from The Comfort of Cooking, she was inspired to try out these delicious Cheesy Garlic Bread Meatball Sliders!

The original recipe and post can be found here: http://www.thecomfortofcooking.com/2016/05/cheesy-garlic-bread-meatball-sliders.html

Meatballs

Cheesy Garlic Bread Meatball Sliders

Ingredients:

Sliders:

  • 1 lb. ground beef
  • 1 large egg
  • 1 tsp kosher salt
  • 1/4 tsp black pepper
  • 1 Tbsp garlic powder
  • 1/4 cup grated parmesan cheese
  • 2 Tbsp chopped basil
  • 1 Tbsp oil
  • 1 cup marinara sauce
  • 1 package dinner rolls
  • 12 slices mozzarella cheese

Garlic Butter:

  • 4 Tbsp melted butter
  • 2 Tbsp minced garlic
  • 2 Tbsp chopped basil
  • 2 Tbsp grated parmesan

Directions:

For the sliders:

  1. Preheat the oven to 350 degrees. Cut the dinner rolls in half and set aside.
  2. In a large bowl, combine ground beef, egg, salt, pepper, garlic powder, parmesan, and chopped basil. Mix until all ingredients are well blended. Shape mixture into 12 golf ball-sized meatballs; set aside.
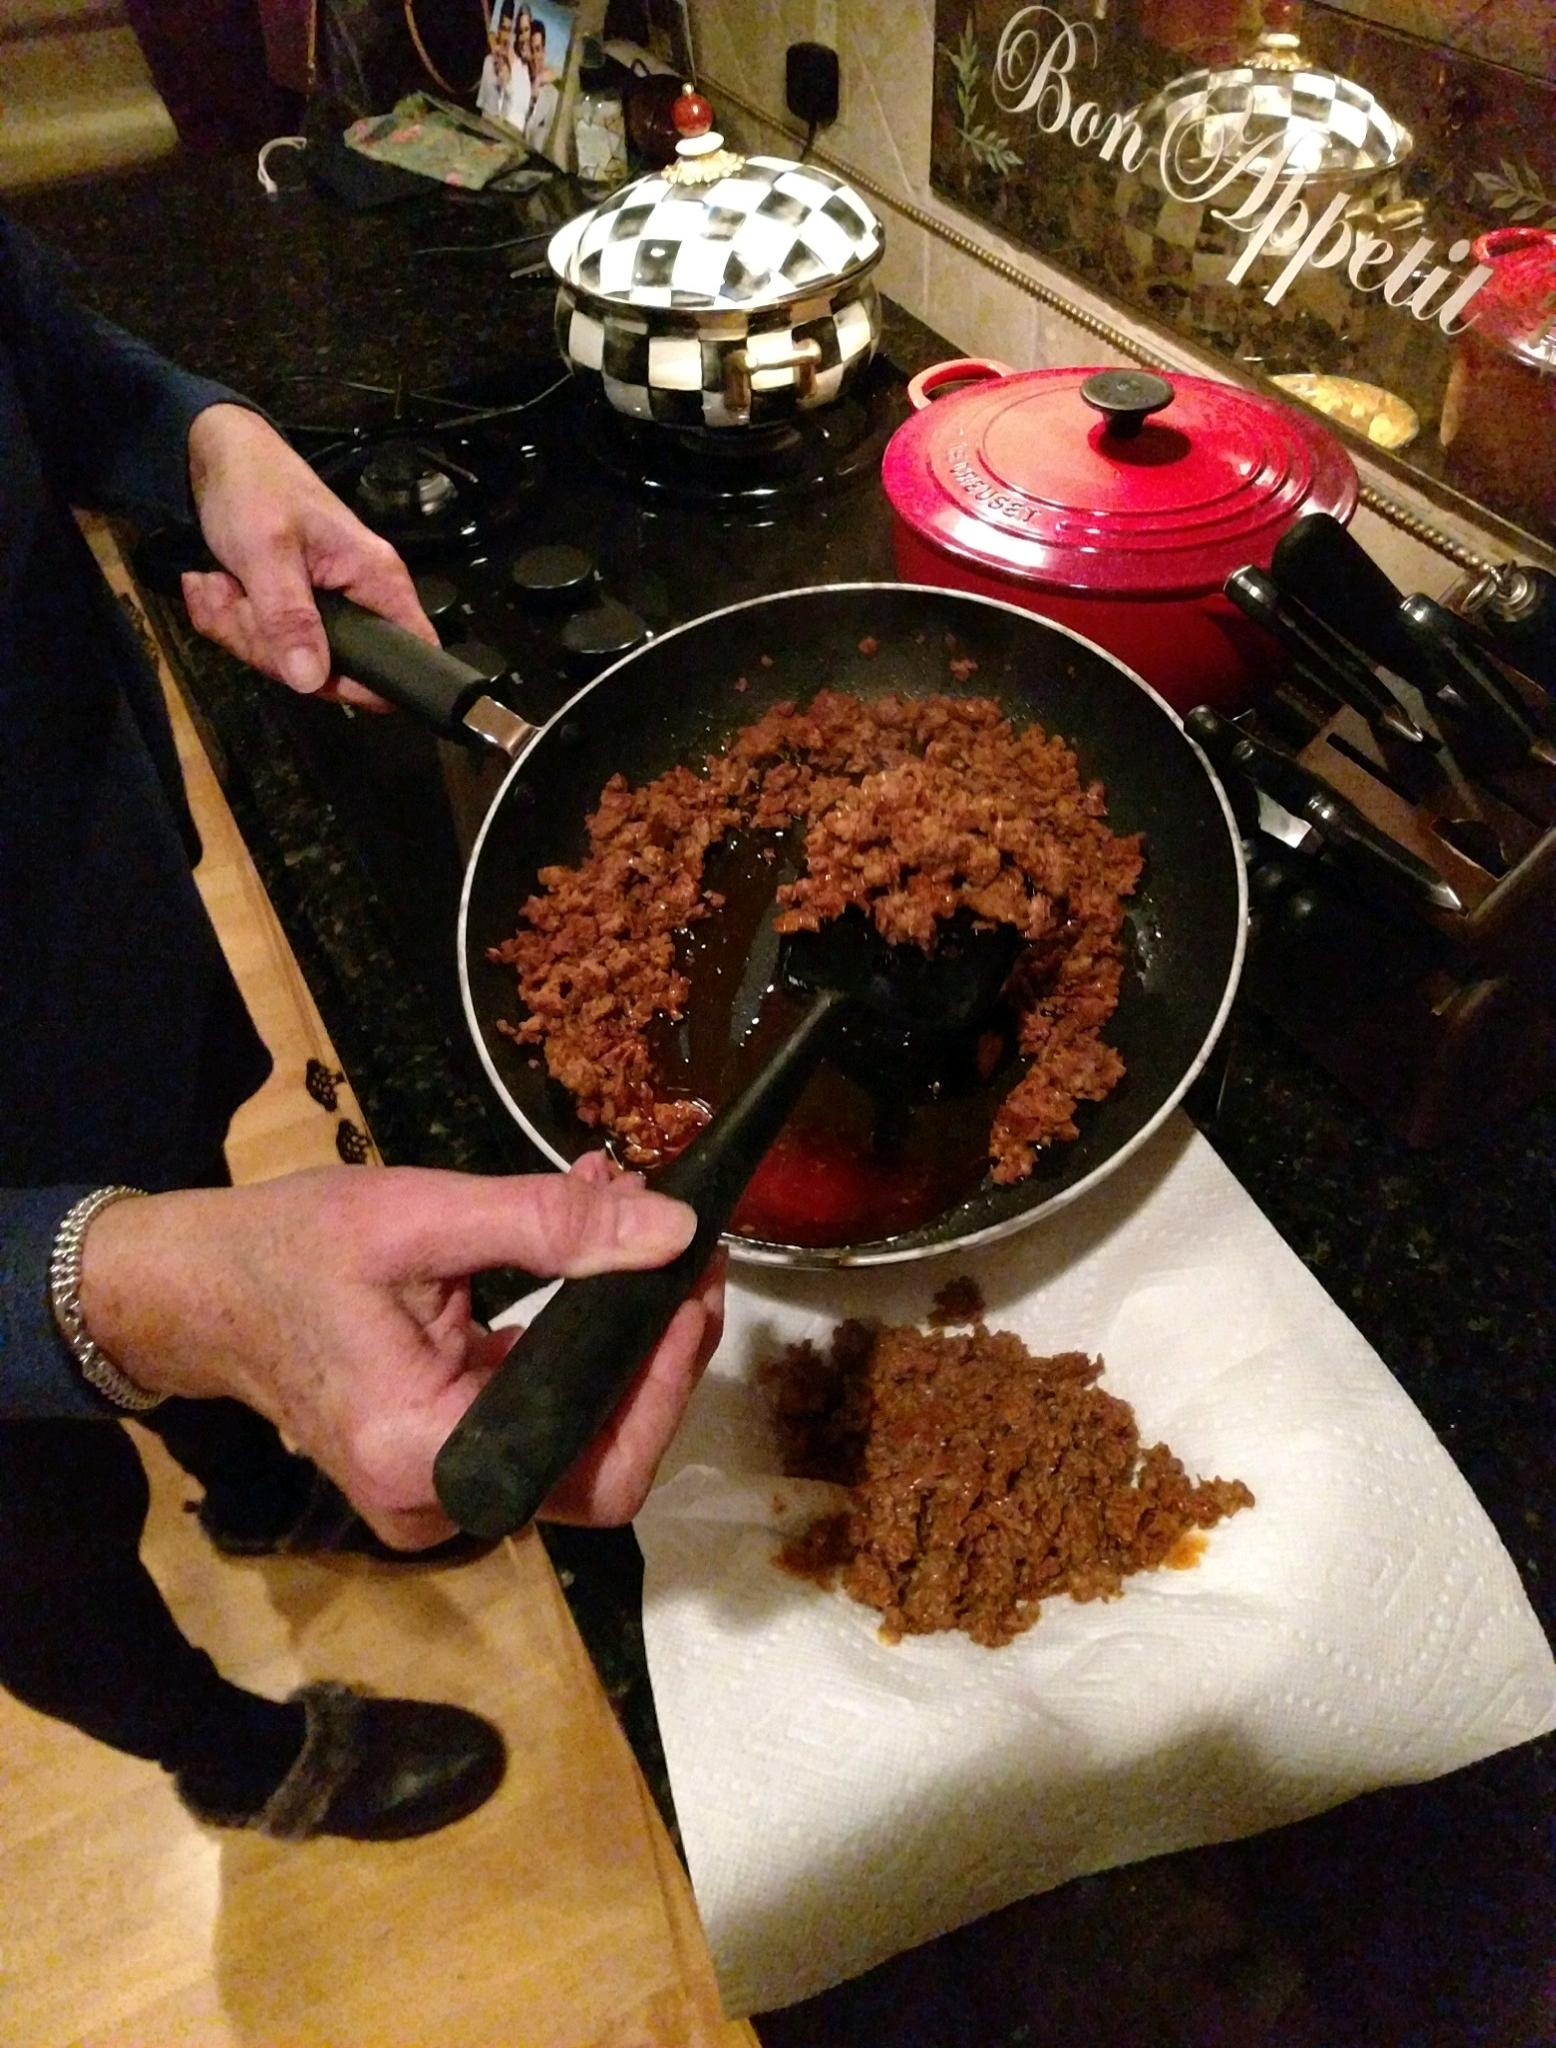
  3. Set a large pan to medium-high heat. Once hot, add meatballs and cook 1-2 minutes per side, then flip. (They do not need to be fully cooked at this point.) Remove meatballs to a paper-towel lined plate; drain excess fat in pan.
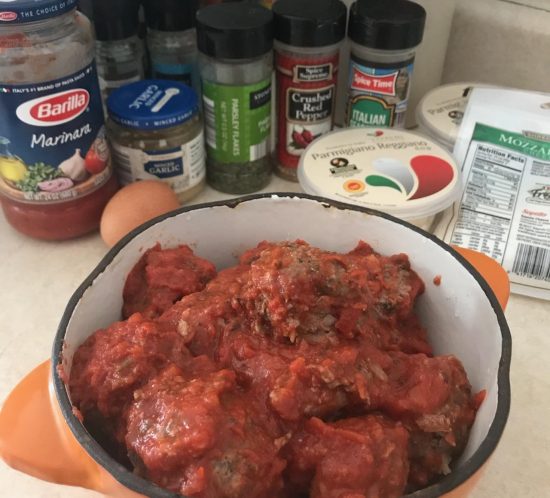
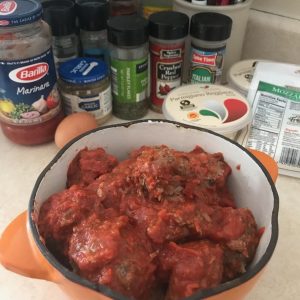
  4. Pour marinara sauce into the pan and place meatballs in the sauce. Cook for 8-10 minutes, flipping meatballs occasionally, until sauce has reduced to a thick consistency. Remove from heat.
  5. Place one meatball inside each halved dinner roll. Top with sliced mozzarella, then cover with dinner roll top. Place on a large baking sheet.

For the garlic butter:

  1. In a small bowl, combine butter, garlic, basil, and parmesan, stirring until evenly mixed.
  2. Pour garlic butter mixture over top of the sliders.
  3. Bake for 15-20 minutes, until the rolls are golden brown and cheese is melted.
  4. Cut into individual sandwiches, and serve.

Meatball Sliders

Keya served the sliders at a recent family gathering. The result… Next time she’ll have to make a double batch! Let us know if you try these, we’d love to hear what you think!

Just in time for the big game… Kim’s Hot Tot Kabobs!

Property Geek Kim isn’t a native Minnesotan. But she’s been in the Twin Cities long enough to have learned a couple of things:

  1. Minnesotans love their tater tots, and…
  2. They’ll try just about anything on a stick.

So, in honor of the big game, she’s decided to share a recipe for one of her family’s new favorites:

Hot Tot Kabobs

These taters on a stick are super quick to make and will easily feed a crowd. Here’s what you’ll need:

  • Frozen Tater Tots
  • Finely Shredded Cheddar or Colby Jack Cheese
  • Bacon Bits or several strips of cooked Bacon (chopped into bits)
  • Sour Cream
  • Chives
  • Skewers

Cook the tater tots according to package directions. Once done, let them cool for a few minutes until you can touch them.

Thread tater tots onto skewers and place onto a cookie sheet.


Top the tater kabobs with bacon bits.


Sprinkle cheese over the tots.


Bake for another 5-10 minutes until cheese melts.

Transfer to a serving platter & garnish with sour cream and chives.


These Hot Tot Kabobs will be a hit just the way they are, but if you want to mix it up a bit, try the following variations:

  • Use Mexican cheese, chopped jalapenos and serve with salsa for dipping.
  • Sprinkle dry ranch seasoning over tots when cooking and serve with ranch dressing.
  • For a “healthier” slant, sprinkle chopped cooked broccoli over the tots before you add the cheese.
  • Try adding a little chili, then cheese and serve with sour cream for dipping.


We can’t promise your team will win on Sunday, but we CAN promise you’ll end up with a platter that looks like this…


What’s your favorite snack to take to a game watch party?

Warm Up with Karla’s Southwest Stuffing

Feel that chill in the air? Fall is hurtling by quickly and winter is coming in cold. The proof is in the stuffing–Thanksgiving is only two weeks away!

Thank goodness Property Geek Karla has a cure-all to beat back that brisk snap in the air, and she’s sharing it with all of us today. She said she started adding this Southwest Stuffing to her Thanksgiving menu about ten years ago and now her family won’t let her through the door unless she brings it along. They love the twist on the traditional stuffing recipe. The jalapeno provides a bite of heat and the chorizo sausage and cilantro give it just the right southwestern zip to clear the sinuses and keep the cold at bay.

If you’re looking for some extra sizzle and spice to add to your holiday, we hope you’ll give it a try!

Property Geeks Southwest Stuffing - Sausage

First, saute the sausage. It gives the stuffing that extra kick.

How can something with so many vegetables be so tasty? Just don’t mind that stick of butter hiding underneath all that green.

Southwest Stuffing - Broth

The mixture of broth and eggs provides the rich moisture that holds the whole dish together.

Southwest Stuffing - Pan

Almost ready! Just an hour in the oven to bake all that spice together.

Southwest Stuffing - Final

Ta-da! Looks good enough to be a meal all by itself.


Southwest Stuffing

  • 1 lb bulk Chorizo Sausage
  • 1/4 cup Butter
  • 1 cup cubed Butternut Squash
  • 1 large Onion, diced
  • 8 Green Onions, chopped
  • 2 cups chopped Celery
  • 2 Jalapenos, seeded, deveined & minced
  • 1 cup Cilantro, finely chopped
  • 2 TBSP fresh sage, chopped
  • 24oz Cubed Stuffing Mix
  • 3 Eggs
  • 32oz Chicken Broth


  1. Preheat oven to 350 degrees.
  2. In a large saucepan, sautee chorizo sausage. Drain fat and set aside. In same pan, melt butter, add onions, squash, celery, green onions and jalapenos. Saute until soft. Add cilantro and sage.
  3. In large bowl, add stuffing mix, sausage, and onion/celery mixture.
  4. In separate bowl, beat the eggs with the chicken broth and pour over stuffing mixture. Toss well.
  5. Butter a large casserole dish and foil for covering.
  6. Spread stuffing into casserole dish, cover with foil and bake at 350 degrees for 45 minutes.
  7. Remove the foil and bake for an additional 15 minutes.


Enjoy!

Apple Cider

Sarah’s Double Duty Mulled Cider

Property Geek Sarah recently spoiled us with one of her family’s traditional fall treats — Mulled Apple Cider. The perfect combination of sweet and tart, it combines two of our favorite fall highlights… sipping warm beverages and being able to use some of the apples we picked from our local orchards.

For as long as she can remember, her mom has made this mulled apple cider one time each year – on Thanksgiving. When she got old enough, it became her job to put the recipe together before all of their extended family descended on the house for a traditional Thanksgiving. About 10 years ago, Sarah and her cousins started taking over hosting the holidays from their parents. Since her mom had always been in charge of Thanksgiving, the responsibility for that holiday fell to her. Obviously she had to keep doing the cider, so her mom’s old percolator and the secret recipe was passed down to her. Rumor has it the percolator is the original one her grandma has always used so it’s doubly sentimental making the recipe in her vintage container. Now that her own children have gotten older, they love to help make the cider as people are arriving, just like she did.

Sarah took it a step further and added her own special tweak to the recipe — for adults only! She’s found that adding a dash of caramel vodka into the cup makes for some delicious warm caramel apple cider. A drizzle of caramel in would also be a great touch!

We decided to call it Double Duty Mulled Cider because not only does it taste fabulous but it will also make your house smell delicious.

 Double Duty Mulled Apple CiderPercolator of CiderMulled Apple Cider

Sarah’s Recipe for Double Duty Mulled Apple Cider

If you don’t have a percolator, you can add all of the ingredients to a large stockpot or your slow cooker and simmer gently.

In the percolator basket, add:

½ large orange, sliced
8-10 whole cloves
3-4 cinnamon sticks
A few handfuls of brown sugar
One gallon of plain apple cider.

Let us know what you think if you decide to try it. And if you’re a seller who’s having a Fall Open House, having a batch of this brewing for when potential buyers come through wouldn’t hurt!

Mini Apple Pies

Autumn & Afton’s Mini Apple Pies

School has started and around here that means two things… football season is upon us and it’s time to head to the apple orchards. Luckily, we’re surrounded by fantastic options for both. Lakeville is home to two stellar high school football programs – the Lakeville North Panthers and the Lakeville South Cougars. We’ll talk about the rivalry between them next week.

We’ve also got more than our fair share of apple orchards in the area. A couple of our favorites are right down the road…

Applewood Orchards has pick-your-own apples, raspberries and pumpkins and even hayrides on the weekends. According to their website they’re already well into the 2017 harvest and ready for visitors to the apple orchard and corn maze.

Thompson’s Hillcrest Orchard is just south of Lakeville in Elko, Minnesota. They’ve began planting in 1996 and now grow 10 varieties of apples on more than 1100 trees. They sell pumpkins, gourds, pies, jams, and pre-picked apples in addition to offering pick-your-own.

Nelson’s Apple Farm in Webster offers over twenty-five varieties of apples, either pre-picked or pick-your-own. Their gift shop offers unique specialty food items including the famous Apple Dandies served piping hot. On weekends they have hayrides and their resident goats are always up for visitors and a photo opp or two.

For more local orchards, check out Local Harvest.

Once you’ve got your apples, you need to know what to do with them! One of the girls’ favorite recipes is homemade Mini Apple Pies. Autumn and Afton did a great job demonstrating and the full recipe is printed below:


Autumn & Afton’s Mini Apple Pies

Ingredients:

  • 1 pkg Ready Made Refrigerated Pie Crust
  • 2 Large or 3 Medium Apples
  • 1 Stick of Butter (plus extra for greasing pan)
  • Sugar
  • Cinnamon
  • Nutmeg

Instructions:

  1. Preheat the oven to 450 degrees. Grease a standard cookie sheet and set aside.
  2. Unroll pie crust onto a clean surface then slice in half so you have two half-circle pieces from each crust. Let it come to room temperature.
  3. Peel, core and slice the apples. (The thinner the slices, the better.)
  4. Cut sticks of butter into thin slices.
  5. Move a half-circle of dough onto the cookie sheet.
  6. Assemble pie by layering apples, a few pats of butter, a generous (about 1 TBSP) spoonful of sugar, a sprinkle of cinnamon and a sprinkle of nutmeg.
  7. Fold dough over the top of the apple stack, enclosing the filling.
  8. Sprinkle sugar and cinnamon over the top.
  9. Bake at 450 degrees for 5-10 minutes then lower the oven temperature to 350 degrees and bake for an additional 30-40 minutes.
  10. Enjoy!!!

We hope you enjoy the pies. For an extra special treat, try them with vanilla ice cream on the side! What are your favorite apple recipes? Please share with us in the comments!